- Tubelator AI
- >
- Videos
- >
- Film & Animation
- >
- How to create a dark, moody and fading background in Keyshot 7
How to create a dark, moody and fading background in Keyshot 7
In this tutorial i'll show you how to create a dark and moody ground which fades in to the background color in Keyshot 7 Pro.
UPDATE FOR NEWER KEYSHOT VERSIONS:
Since the introduction of geometry nodes in Keyshot, the node setup has changed a bit.
- In Keyshot 7 you have a ground material onto which you add your plastic material as a label.
- In newer Keyshot versions you will have a new node in front of you ground material with the inputs: "Surface, Geometry and Label" - keyshot calls it the "root node". I will call it the "material output node" because thats basically what it does. It collects all the information and outputs it into the viewport.
So instead of adding the label to the ground material like in KS7 you add the label to the "output node". The rest will work as expected.
- Dont get confused by the name of the "root"/"output node". If you change the name of your material in the material tab - the name of this node will change as well. So if you followed the tutorial, the node is called "ground" - because the material is called "ground". You'll end up with two connected nodes called "ground" - which might be a bit confusing at first. The one on the left is a "ground shader" and the one on the right is the "output node" called "ground".
Hope this helps :)
Poliigon Material: https://www.poliigon.com/texture/plaster-17
HDRI: https://hdrihaven.com/hdri/?c=urban&h=rooftop_night
Music: http://www.bensound.com/royalty-free-...
Model: https://www.tfmstyle.com/freebies/
Connect with me:
Instagram: https://www.instagram.com/alexanderkaula_2
Behance: https://www.behance.net/alexanderkaula
If you have any questions or suggestions about future tutorials you would like to see - comment down below.
 Install Tubelator On Chrome
Video Summary & Chapters
No chapters for this video generated yet.
Video Transcript
Hello, hello, hello!
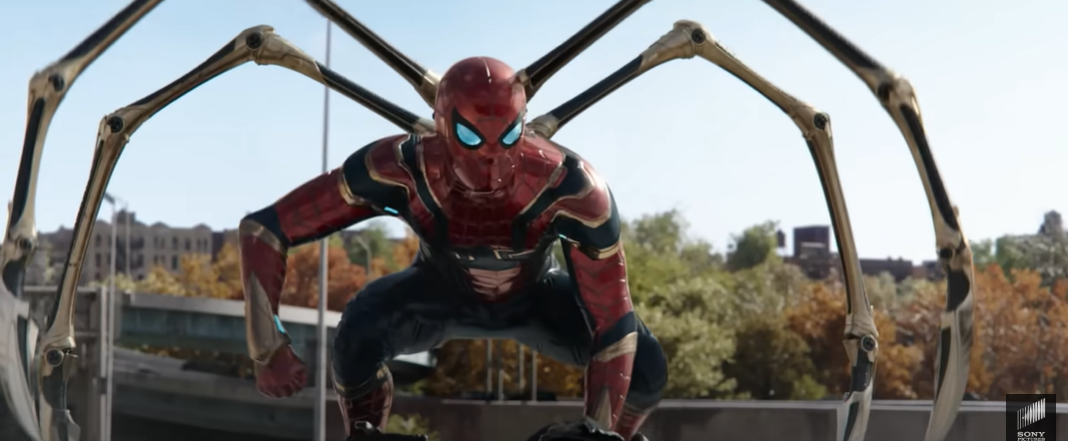
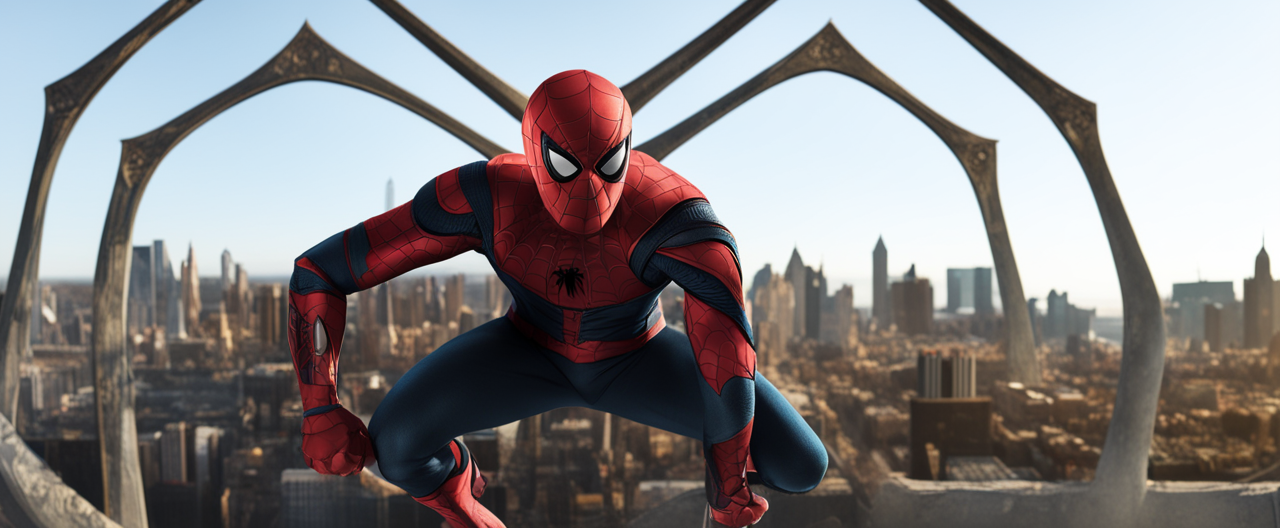
After posting these pictures I've got a lot of questions regarding the ground material and the fading into the background.
So I thought this could be my first tutorial.
Let's jump right into it.
So this is the ground material I created this morning for this tutorial.
We're going to make a new scene and try to recreate this effect.
So, but...
let's pause this and switch to HDRI Haven. This is the HDRI we're going to
use for this scene. It's free. I'm going to link it down the description and then
we're going to go to Polygon. If you already have a Polygon account you can
search for the Plaster 17 material. If you don't go sign up. It's free to sign
up and then you can download the free textures. What we are going to use is
Plaster 17, that's the one and I would go and download all the resolutions and
Then what I did I
Put all of this into one folder so we have everything we need for this tutorial
jumping back to key shirt, so
Like I said, this is a scene I created earlier and we're going to try to recreate this with the
little puddles
Let's create a brand new keyshot scene.
Getting started.
So the first thing we're going to do is add a ground plane.
So you can do this under edit, add geometry, ground plane or press CTRL-NG on your keyboard.
And if we go into the scene tree we can see here's our ground plane.
Next thing, we're going to the environment and load in our downloaded environment.
and here it is. I won't use the HDR as a background image so on the environment
background we're going to switch from lighting environment to color and in
this case I would use something quite dark. So let's go with something like
this, press OK and then we can double click on our ground plane, go to the
material graph and start building up a material and we're switching to the
plaster 17 6k folder you downloaded from polygon in this case you if you want to
build a nice material you can use all of these but in this case to get something
like this I will only use these two it's the reflection the normal and I'm just
dragging them into the material graph here.
First things first, we're going to make a new material.
In this case I'm going to use a plastic, it doesn't really matter here too much.
And go into the properties of the material
and make it quite dark. So because we want to have a nice dark
ground. The next thing we're going to use the
normal map and drag it into the bump and if you guys notice it doesn't really
look like the bump map and this is because we have to tell a key shot first
that it's a normal map this is looking much better
better now. Something you can notice here is we get this this weird circle. When
doing the test scene this morning I was wondering where this is coming from and
I figured it out and it's super easy. This is our environment and in this
setup it's just too small. So if you go to environment and under transform
to the scale option. When we scale it up you can see that if the environment is
big enough and it spreads over the circumference of our ground plane we
don't get this artifact. Keep this in mind if you get this especially later
when you get a material graph that has like 30 nodes and you don't know
where this circle is coming from, go and check your environment size.
Video Summary & Chapters
No chapters for this video generated yet.
Video Transcript
你好,你好,你好!
发布这些图片后,我有许多关于
地面材料和落入背景。
我以为这可能是我的第一个教程。
让我们直接跳进它,所以这是我今天早上为这个教程创建的土壤材料。
我们将创建一个新的场景,并尝试重塑这种效果。
所以,但是......
让我们休息一下,并切换到 HDRI Haven. 这是我们要做的 HDRI。
使用这个场景。它是免费的。我将将它链接到描述。然后
我们将前往 Polygon. 如果您已经有 Polygon 帐户,您可以
查找塑料17材料。如果你不,请登录。它是免费的签名。
然后你可以下载免费的结构。我们将使用的是
塑料 17,这是一个,我会去下载所有的分辨率和
然后我做了什么
把这一切都放在一个文件夹中,所以我们有所有我们需要这个教程
跳回到密钥衬衫,所以
正如我所说的那样,这是我以前创建的场景,我们将尝试重建这个场景。
微小泡沫
让我们创建一个全新的键盘场景。
开始了。
所以,我们要做的第一件事就是添加一架地面飞机。
因此,您可以在编辑下做到这一点,添加地理学,地板或按下CTRL-NG在键盘上。
如果我们进入场景树,我们可以看到这里是我们的地面飞机。
接下来,我们将进入环境,并在我们的下载环境中充电。
我不会使用 HDR作为背景图像,所以在环境中
背景我们将从照明环境转移到颜色和
在這種情況下,我會使用一些相當黑暗的東西,所以讓我們去一些這樣的東西。
这,按一下 OK,然后我们可以双点击我们的地面飞机,转到
材料图,开始构建一个材料,我们正在切换到
塑料 17 6k 文件夹你从多角下载在这种情况下,如果你想
建立一个漂亮的材料,你可以使用所有这些,但在这种情况下,得到一些东西
像这样,我只会使用这些两个,这是反射正常,我只是
把它们拉到这里的材料图中。
首先,我们要制作一个新的材料。
在这种情况下,我将使用塑料,这并不重要。
并进入材料的属性
让它非常黑暗,所以因为我们想要一个漂亮的黑暗
地面:下一个我们将使用的
正常地图并将它拉到跳动中,如果你男孩注意到它不是真的
看起来像打击地图,这是因为我们必须先告诉一个关键射击。
这是一个正常的地图,看起来更好。
现在更好。你可以注意到这里的一件事是我们得到这个奇怪的圈子。
今天早上做测试场景,我想知道这是从哪里来的和
我想到了它,它是超容易的,这是我们的环境和在这个
设置它只是太小,所以如果你去环境和转换
到尺寸选项。当我们扩展它时,你可以看到,如果环境是
足够大,它蔓延到我们的地面飞机周围。
不要得到這個遺產,如果你得到它,特別是在後來,請記住這一點。
当你得到一个具有像30个节点的材料图表时,你不知道
这个圈子从哪里来,去检查你的环境大小。