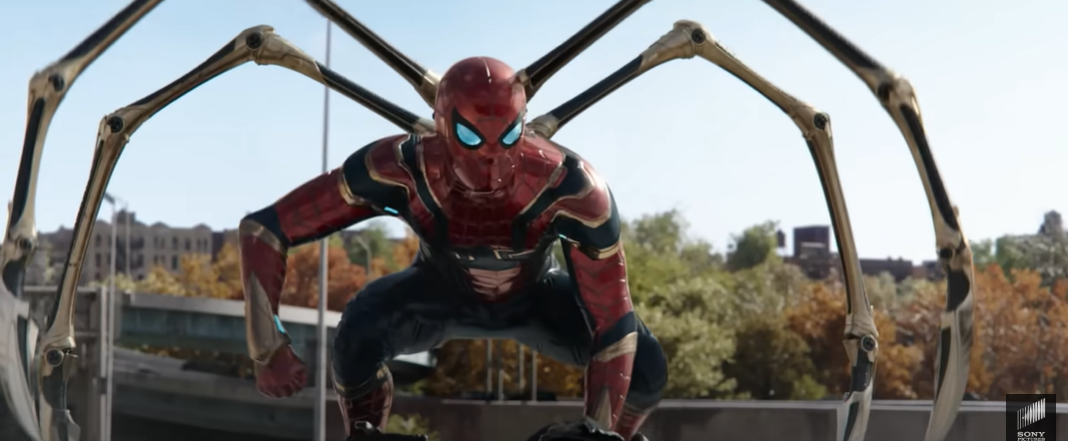
액션 웹툰 채색 강좌 스피드 효과 후보정 편
제가 주로 하는 채색법을 알려 드리는 영상입니다.
밑색, 1차 명암, 2차 명암, 하이라이트, 후보정, 효과음 순으로 되어있습니다.
하루마다 하나씩 업로드를 할 예정이니 많은 관심 부탁 드립니다.
강좌에 쓰였던 소재 다운로드 링크
https://blog.naver.com/xor1716/223783...
#웹툰 #채색 #일러스트
 Install Tubelator On Chrome
Video Summary & Chapters
No chapters for this video generated yet.
Video Transcript
I'll make a layer on top of this and paint it white.
I'll draw this part that goes through and out.
I'm going to make this part shine.
If you click on the eye, you'll get hurt except for this layer.
If you paint it with a head, it'll go in here.
Please draw one like this.
One more.
It's okay to go in a little bit.
Press Alt and select the part you want to paint.
Select the entire part you painted.
Press Ctrl and click on the thumbnail of the base color.
Select this much.
Then press Ctrl Shift and click on the thumbnail.
I'm going to delete this part.
Edit this part and delete it.
I'll remove the part that's not covered.
I'll just paint this part with a filter.
Select the head touch part and erase it.
Now it's the same as making it shine.
Copy this layer.
Copy this layer.
Then there are two layers like this.
I'm going to make a layer of blur.
Blur is a filter, blur, Gaussian blur.
You can set the amount of blur you want.
I'll set it to about 35 pixels.
If you think it's blurry, copy the layer you just blurred.
Copy and paste the white layer again.
And the top is white, and the bottom is white.
It's shining brightly, but it's not pretty if it's white.
I think you can do this so that it can shine a little orange or this way.
And I did this as a standard.
Because I'm going to make the background a little brighter.
If the background is a little bright, the screen or the effect is not very noticeable in bright places.
So I set it to standard.
If you do this, it's up to the line where it shines.
And I think we can set up the background. First, I'll put a line in the background.
I'll make a layer and put a line in the background. I'm going to give you a line as a pers.
You can use other lines. You can use a radiation or something like that. I use a lot of pers.
Draw a line according to the number of lines you drew.
If you draw a line according to the number of lines you drew, you can draw a line naturally.
Use the square selection tool to draw a line on the background.
For a sense of speed, I'm going to add one more layer.
When you're playing the chords, you're going to overlap three or four and put one up, two or three overlaps, and one up.
I gave him one.
Copy this layer and put it on top of it.
You can put it on top of it and paste it.
Ctrl C, Ctrl V.
Then there's one on top of it.
Then, delete the entire layer.